
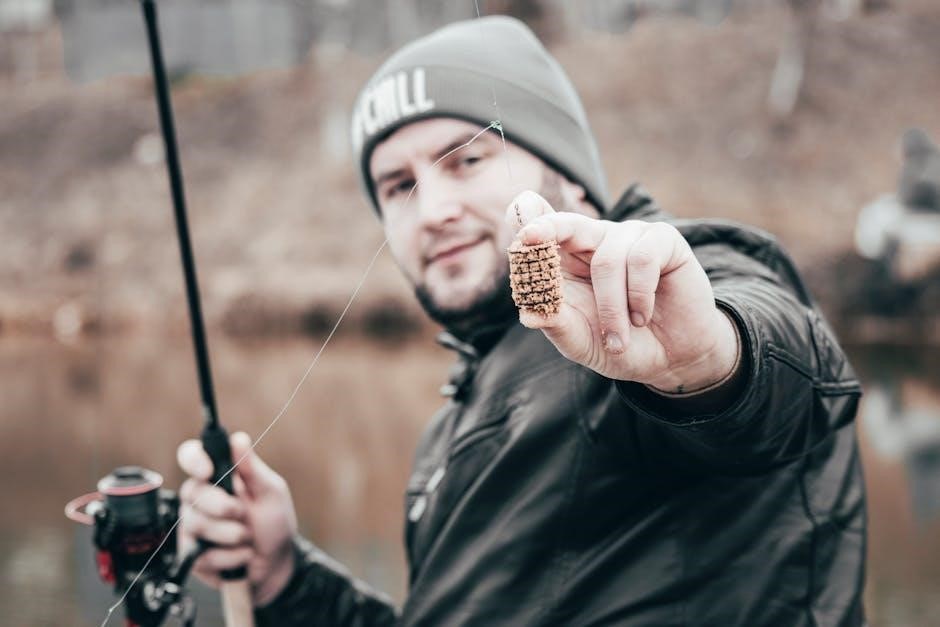
Materials Needed
To replace fishing rod guides, you’ll need a few essential materials. Start with the new guides themselves, available in ceramic, aluminum oxide, or titanium. A high-quality epoxy or adhesive is crucial for securing the guides. Sandpaper or a file will help prepare the rod surface. A rod wrap or thread will reinforce the guide’s position. A lighter or heat source can shape the wrap. Epoxy thinner may be needed for mixing. A small brush applies adhesive precisely. A polishing cloth ensures a smooth finish. Black nail polish can add a protective coat. Finally, a cutting tool trims excess thread for a clean look.
Removal of Old Guides
Removing old fishing rod guides is a critical step in the replacement process. Start by preparing the rod by laying it flat on a stable surface. Use a heat source, such as a lighter or hairdryer, to soften the adhesive holding the old guide in place. Gently heat the area around the guide for a few minutes until the adhesive loosens. Avoid overheating, as this could damage the rod blank.
Next, use a pair of needle-nose pliers to carefully pry the guide away from the rod. Work slowly and evenly to prevent the guide from breaking or leaving fragments behind. If the guide is particularly stubborn, apply a small amount of epoxy thinner or adhesive remover to further weaken the bond. Once the guide is removed, use fine-grit sandpaper to smooth out the area, ensuring it is free of residual adhesive or debris.
For snake guides, which are smaller and more delicate, use a similar approach but with extra caution. Heat the area lightly and use a flathead screwdriver or a specialized tool to lift the guide from the rod. For larger ring guides, a gentle twisting motion with pliers can help dislodge them more easily. Regardless of the guide type, take care not to scratch or damage the rod blank during removal.
After removing the old guide, inspect the area for any remaining adhesive or residue. Use sandpaper or a file to create a smooth surface for the new guide. Wipe the area clean with a lint-free cloth or alcohol swab to ensure proper adhesion of the replacement guide. Avoid using harsh chemicals that might damage the rod’s finish.
Finally, double-check the rod for any remaining old guides or debris. If multiple guides need replacement, repeat the process for each one, working from the tip toward the handle to maintain even tension. Proper removal sets the stage for a successful installation, so take your time and work meticulously.
Preparation
Before installing new guides on your fishing rod, proper preparation is essential to ensure a smooth and successful replacement process. Start by gathering all the necessary materials, including the new guides, adhesive, sandpaper, and any specialized tools like a guide alignment tool or rod wrapper. Lay out your materials on a clean, flat surface to keep everything organized and within reach.
Clean the rod thoroughly to remove any dirt, oil, or residue that might interfere with the adhesive. Use a soft cloth dampened with isopropyl alcohol to wipe down the length of the rod, paying particular attention to the areas where the new guides will be installed; Allow the rod to dry completely before proceeding.
Inspect the rod for any existing damage or wear that could affect the placement of the new guides. If you notice any cracks or uneven surfaces, address them before proceeding. Use a fine-grit sandpaper to smooth out any rough areas, ensuring the surface is even and ready for the new guides.

Determine the correct placement for each guide using a guide spacing chart or by measuring the distance between the existing guides. Mark the positions lightly with a pencil to serve as a guide during installation. For accuracy, consider using a guide alignment tool or a straightedge to ensure the marks are straight and evenly spaced.
Prepare the adhesive by mixing it according to the manufacturer’s instructions. Apply a small amount to the base of each guide, spreading it evenly with a brush or applicator. Allow the adhesive to reach the optimal consistency for bonding, usually a few minutes, before attaching the guides to the rod.
Finally, double-check all measurements and markings to ensure everything is accurate. Take your time during this step, as proper preparation is key to a successful installation. Once everything is ready, you can move on to installing the new guides with confidence.
Installing the New Guide
Installing the new guide on your fishing rod requires precision and care to ensure proper alignment and secure attachment. Start by applying a small amount of epoxy or adhesive to the base of the new guide, following the manufacturer’s instructions for mixing and application. Gently press the guide onto the marked position on the rod, ensuring it aligns perfectly with the guide spacing chart or your pre-marked positions.
Use a guide alignment tool or a straightedge to double-check the guide’s placement. Once satisfied with the alignment, hold the guide firmly in place for a few seconds to ensure the adhesive begins to set. If necessary, use a small clamp or weight to maintain pressure while the adhesive dries, according to the manufacturer’s curing time.
After the adhesive has set, wrap the base of the guide with rod wrapping thread to reinforce the bond. Apply a thin layer of epoxy over the thread to protect it and ensure a durable finish. Use a lighter or heat source to carefully shape the thread and smooth out any excess epoxy, ensuring it lays flat against the rod.
Allow the epoxy to dry completely before handling the rod. Once dry, inspect the guide to ensure it is securely attached and properly aligned. Repeat the process for each guide, working from the tip of the rod toward the handle to maintain even tension and alignment.
Finally, test the guides by gently pulling on the line to ensure they are secure and function smoothly. Make any necessary adjustments before finalizing the installation. Proper installation ensures optimal performance and longevity of your fishing rod.

Testing and Adjustment
Once the new guides are installed, thorough testing and adjustment are essential to ensure optimal performance. Begin by inspecting each guide for proper alignment and secure attachment. Gently tug on the fishing line to check for any wobbling or movement of the guides. If a guide feels loose, apply additional epoxy or re-tighten the wrapping thread as needed.
Next, test the rod’s action by casting a weighted line or a practice plug. Pay attention to how the line flows through the guides; it should move smoothly without catching or dragging. If you notice any hesitation or friction, check for misaligned guides or debris buildup. Use a soft cloth to clean the guides and ensure they are free from dirt or old adhesive residue.
Adjust the guide alignment if necessary, using a guide alignment tool or a straightedge to ensure proper spacing and positioning. If a guide is slightly crooked, carefully heat the adhesive with a lighter to make minor adjustments. Allow the adhesive to cool and set before retesting the rod.
Finally, take the rod for a test fishing trip to evaluate its performance under real-world conditions. Pay attention to casting distance, accuracy, and how the line retrieves through the guides. Any issues that arise during use should be addressed promptly to prevent further damage to the rod or line.
Regular maintenance, such as cleaning the guides and inspecting the wraps, will help maintain the rod’s performance over time. By carefully testing and adjusting the new guides, you can ensure your fishing rod operates at its best, providing a smoother and more enjoyable fishing experience.
Additional Considerations
When replacing fishing rod guides, there are several additional factors to consider to ensure the repair is durable and maintains the rod’s performance. First, the type of guide material is crucial—ceramic, aluminum oxide, or titanium guides are popular choices, each offering different levels of durability and smoothness. Choosing the right guide size is also important, as it must match the rod’s specifications to prevent line tangling or uneven wear.
Another key consideration is avoiding overheating during the repair process. Excessive heat from a lighter or heat gun can damage the rod blank or weaken the epoxy bond. Always use a low flame and apply heat sparingly. Additionally, ensure the rod surface is clean and dry before applying adhesive, as any moisture or dirt can compromise the bond.
When selecting a replacement guide, consider the fishing conditions it will be subjected to. For example, saltwater environments require guides made from corrosion-resistant materials, while freshwater fishing may not demand such specialized components. Furthermore, if the rod is used for specific techniques like fly fishing or trolling, the guide spacing and alignment must be precise to accommodate the unique demands of those methods.
Finally, take care to avoid over-tightening the guide wraps, as this can cause uneven stress on the rod blank; Instead, apply even pressure and allow the epoxy to cure fully before testing the rod. By paying attention to these details, you can ensure a professional-quality repair that extends the life of your fishing rod and enhances its performance on the water.
Final Tips
Replacing fishing rod guides is a detailed process that requires patience and attention to detail. To ensure a successful repair, follow these final tips. First, allow the epoxy to cure for at least 24 hours before using the rod, even if it feels dry to the touch. This ensures a strong bond between the guide and the rod. Second, test the rod gently before heading out on the water. Cast a lightweight line to check for proper guide alignment and smooth line flow.
Additionally, inspect the guides regularly for signs of wear, such as cracks or loose fittings. Addressing minor issues early can prevent more extensive damage later. Consider using a rod sleeve or protective case to shield the guides during storage or transport. This reduces the risk of accidental damage and extends the life of the repair.
Lastly, maintain the rod by cleaning the guides periodically with a soft cloth and mild soap. This removes dirt and grime that can interfere with line performance. If you’re unsure about any step of the process, consult a professional rod builder or seek guidance from an experienced angler. With proper care and maintenance, your repaired rod will perform like new, ensuring countless successful fishing trips.